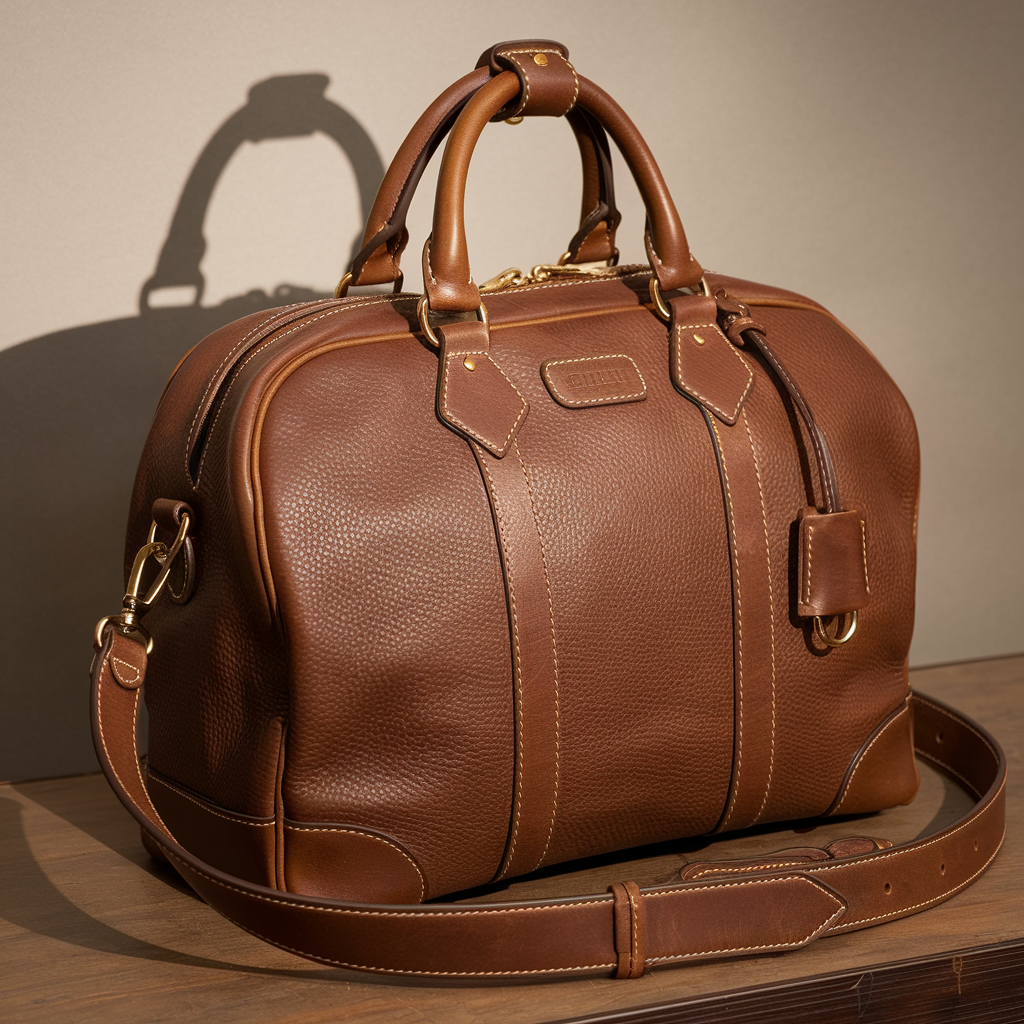
Have you ever looked at your old leather bag and thought, “Wow, this used to look so much better”? I’ve been there. Leather ages in interesting ways—sometimes it develops that gorgeous patina we all love, but other times, it just looks tired. Sunlight, scratches, uneven fading… they can turn your once-favorite bag into something you don’t even want to carry.
The good news? You don’t need to toss it. With a little time, patience, and the right approach, you can recolor your leather bag and give it a second life.
I’ve done it myself, and while it takes some effort, the results are worth it. Imagine taking that faded brown tote and turning it into a rich, deep red or simply restoring it back to its original shade.
In this guide, I’ll share everything you need to know about how to recolor leather bags. I’ll cover the prep work, the tools you’ll need, the coloring process, and even some tips on how to keep the bag looking good after. This isn’t just theory—I’ll share practical steps and lessons learned along the way.
Why Recolor a Leather Bag?
Leather is one of those materials that tells a story. Every mark, fold, or scratch adds to its character. But let’s be honest—not all those marks look charming. Over time, bags can fade unevenly, especially if they’ve spent a lot of time in the sun. Handles and corners often darken from constant contact with your hands, while large panels may lighten and lose richness.
I once had a bag that looked completely mismatched—the body was dull and faded, while the handles were several shades darker. It didn’t feel “vintage” in a stylish way. It just looked worn out. That’s when I realized recoloring was the only option.
Here are some of the main reasons people choose to recolor their leather bags:
- Faded colors: Sunlight and everyday use can strip away vibrancy.
- Scratches and scuffs: Coloring helps hide those inevitable marks.
- Stains or discoloration: Dyeing or painting can even out the tone.
- Personalization: Sometimes you just want a fresh color—why not turn a plain brown bag into a bold navy or wine red?
- Extending lifespan: A recolored bag doesn’t just look better, it also lasts longer when properly sealed and conditioned.
So whether you’re trying to rescue an old favorite or you just feel like a change, recoloring is a practical way to breathe new life into your bag. Next, let’s talk about the different types of leather and why that matters when you’re about to recolor.
Know Your Leather Before You Start
Not every leather bag is the same, and that matters a lot when you’re trying to recolor one. Some leathers drink up dye and look amazing. Others resist it or peel after a short time. Knowing what you have saves you from frustration.
Here are the four most common types:
- Full-Grain Leather
This is the best of the best. It comes from the very top of the hide and keeps all the natural texture. It’s strong, ages beautifully, and takes color very well. If your bag is full-grain, you’ll usually get the richest, longest-lasting results. - Top-Grain Leather
A step down from full-grain. The surface has been sanded to smooth out flaws, which makes it look polished but slightly less tough. It still recolors nicely, though sometimes it needs extra prep. - Genuine Leather
The name sounds fancy, but don’t be fooled. Genuine leather is made from leftover layers of hide. It’s still real leather, but not as durable. You can recolor it, but expect to redo it sooner than with higher grades. - Bonded Leather
This one’s tricky. It’s made from scraps and leather dust glued together, then coated to look like leather. Recoloring often doesn’t last long because the paint or dye sticks to the coating, not the fibers. If your bag is bonded leather, think of recoloring as a temporary fix.
I once tried recoloring a cheap bonded leather clutch, and within a month the “new” color started flaking off. That’s when I realized the type of leather matters just as much as the dye or paint you choose.
Next up: let’s go through the tools and materials you’ll actually need before touching your bag with color.
Tools and Materials You’ll Need
Recoloring a leather bag isn’t complicated, but it does take the right products. Using the wrong ones—like regular acrylic paint—can lead to cracking, peeling, or patchy color. Here’s what I recommend based on both research and my own trial-and-error:
- Leather Dye
This soaks into the leather fibers and gives a natural, even finish. Best for full-grain and top-grain bags. - Leather Acrylic Paint
Great for surface-level color or designs. Unlike normal craft paint, it’s flexible and won’t crack when the leather bends. - Deglazer or Leather Prep
Think of this as hitting “reset.” It strips away old polish, finishes, or oils so your new color can bond properly. - Brushes and Sponges
A sponge works best for covering big areas smoothly, while brushes give control for edges, seams, and details. - Sealant or Topcoat
This is your insurance policy. It locks in the new color and keeps it from fading or peeling. - Leather Conditioner
After recoloring, leather can feel a bit dry. A conditioner restores softness and adds an extra layer of protection. - Gloves and Cloths
Don’t skip these. Gloves protect your hands from chemicals, and cloths are essential for cleaning and buffing.
When I first tried this, I underestimated how important prep was. I skipped the deglazer on an old tote, and the paint started rubbing off within days. The second time, I did it right—clean, prep, then color—and the result held up so much better.
7 Best Way to Prepare and Recolor a Leather Bag
This is where the magic happens. The secret isn’t just in the coloring—it’s in the prep and patience you put in.
Step 1: Clean The Bag
Start by wiping the bag with a damp cloth and a mild leather cleaner. Don’t soak it—too much water can damage the fibers. Use circular motions to lift dirt and oil.
Step 2: Deglaze the Surface
Apply a leather deglazer to strip away any old finishes. This gives your dye or paint a clean surface to cling to. If you skip this step, the new color may not stick.
Step 3: Test Before You Commit
Pick a small hidden spot and apply a little dye or paint. This helps you see how the leather reacts and what the final shade might look like.
Step 4: Apply the First Coat
Using a sponge or brush, spread a thin, even layer. For dye, rub in small circles. For paint, use gentle strokes. Don’t worry if it looks light at first—color builds over time.
Step 5: Build It Up
Let each coat dry for 15–20 minutes before adding another. Thin, gradual layers create a smoother finish and help prevent cracking.
Step 6: Condition and Seal
Once you’re happy with the color, let the bag dry for at least an hour. Then, apply leather conditioner in circular motions to restore softness. Finish with a sealant or topcoat to protect against scratches and fading.
Step 7: Buff and Admire
Buff the bag with a soft cloth for a polished look. This step not only makes it shine but also helps smooth out the surface.
When I recolored my own worn-out tote, I was amazed at how different it looked. The scratches were barely noticeable, the faded spots were gone, and the bag felt almost brand new. The key was patience—I resisted the urge to pile on thick coats, and the slow build paid off.
Maintenance Tips
- Wipe it down with a dry cloth after use.
- Condition every 2–3 months.
- Store it in a dust bag or box away from sunlight.
Recoloring a leather bag isn’t just about looks—it’s about giving something you love a longer life. Instead of throwing an old bag away, you get to transform it into something fresh, personal, and uniquely yours.
Frequently Asked Questions Of How To Recolor Leather Bag?
Q1: How can I restore the color on my leather bag?
A: Restoring the color of your leather bag can be achieved through the process of recoloring. This involves using leather dye or paint to change or refresh the color of the leather. To begin, clean your bag well to get rid of dirt and oils. You can also use a leather deglazer to remove the topcoat, if your bag has one. Then, apply the chosen dye or paint in even strokes, working in small sections. Let each coat dry before adding more layers. After you are happy with the color, use a leather conditioner to keep the leather soft and hydrated.
Q2: What kind of paint is used for leather bags?
A: For recoloring leather bags, it’s best to use leather dye or leather paint made for leather. Leather dye soaks into the leather for a natural finish. Leather paint covers the surface. Look for high-quality, flexible, and colorfast products. These can come in various forms, including liquid dyes, creams, and sprays. When selecting a product, make sure it matches the leather type and desired outcome.
Q3: Can I dye a brown leather bag black?
A: Yes, you can dye a brown leather bag black, but there are some factors to consider. The original color of the leather and the dye color you choose will influence the final result. It’s usually easier to make a lighter color like brown darker by turning it black. To make a brown bag black, clean it first. Then, you might want to use a leather deglazer. Apply several coats of black leather dye or paint, and finish by using a leather conditioner. Before applying dye to the entire bag, test it on a small, hidden area to be sure you like the results.
Q4: Can You Get A Handbag Dyed?
Yes, you can have a handbag dyed. Dyeing a handbag is possible and can be done to change its color or refresh its appearance. For this process, it’s best to talk to a leather specialist or a trusted handbag repair service.
Conclusion
Recoloring a leather bag might feel intimidating at first, but once you’ve done it, you realize it’s more about patience than skill. With the right cleaner, conditioner, and dye, you can take something that looks tired and faded and give it a second life. The best part is, every time you bring an old bag back to life, you add a new chapter to its story.
If your bag has scratches, fading, or just doesn’t match your style anymore, don’t let it sit in the back of your closet. Give it the care it deserves. Clean it, prep it, color it, and finish it with conditioner and protection. It’s a slow, satisfying process, but when you finally hold that “after” version in your hands, it’s worth every minute.
In the end, learning how to recolor a leather bag isn’t just about changing its look—it’s about keeping something you love with you for many more years.
Hi there! I’m a Travel Advisor, and I’m a seasoned traveler with a passion for exploring new and exciting destinations. I have visited the heritage sites of several countries and have learned a thing or two about traveling the world in style and comfort.
My expertise lies in finding the perfect balance between luxury and adventure, and I’m always on the hunt for new and unique experiences. I believe that travel should be about creating meaningful connections and cultural exchanges, and I strive to make a positive impact wherever I go.
With 15 years of experience in the travel industry and a wealth of knowledge about destinations near and far, I’m confident in my ability to help plan the perfect trip for any type of traveler. Whether you’re looking for an exotic beach getaway, a bustling city escape, or an adventure-filled road trip, I’ve got you covered.