Leather bags are a popular choice for their durability and style. Peeling is a problem that many of them have over time. If you’ve ever thought about how to make your old leather bag look new again. You’re in the right place.
This guide will explore the causes of leather bags peeling from wear and tear. We’ll discuss step-by-step instructions to restore your beloved bag to its former glory. This guide will help people whose leather bags are peeling.
Our goal is to help you bring your leather bag back to life. We will cover the usual problems and give you valuable information.
Using these professional tips, you can fix your peeling leather bag and make it last longer. Let’s get start to discuss what causes leather bags to peel.
What causes leather bags to peel?
Leather bags will always look classy, but sometimes the leather will peel. Have you ever thought about why this happens?
One big reason is age. Leather ages like people do and can lose its strength over time. Environmental factors also play a role. Exposure to sun, rain, or extreme temperatures can make leather brittle, causing it to peel.
Low-quality materials are troublemakers, too. If your bag is made of subpar leather, it will likely peel sooner.
Let’s talk about how to use it now. If you overload your bag or handle it roughly, it’s under stress, which can lead to peeling.
But don’t worry! This guide will show you how to fix peeling leather bags. We’ll cover cleaning, gluing, and conditioning to bring your bag back to life.
This article is for leather bag owners who want to know why their bags peel and how to make them look new again. Whether you like to do things yourself or want a cheap option, we’ve got you covered.
7 best way to Restore Peeling Leather Bag (Step by Step)
Leather bags can look good and last a long time, but they may start to peel and lose their shine after a while. Here, we are discussing some simple steps to Restore Peeling Leather Bags.
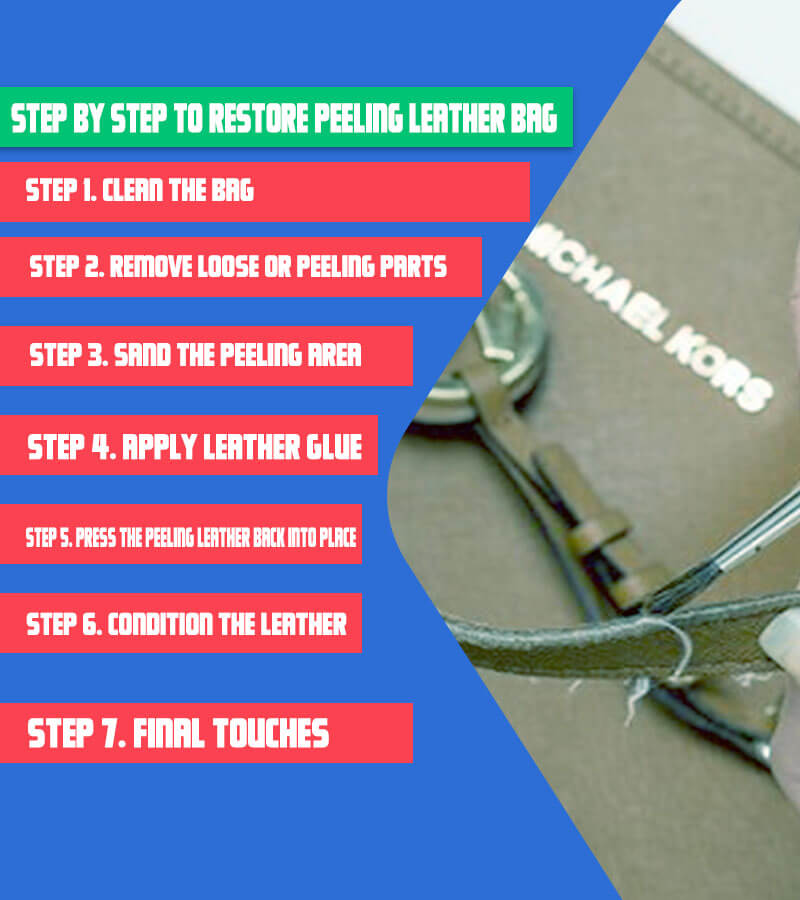
1. Clean the Bag
The first step to restoring your peeling leather bag is to clean it. Over time, dirt, dust, and oils can accumulate on the surface, making it difficult for any repairs to hold. To clean the bag:
- Start by emptying the bag and turning it inside out if possible.
- Use a soft, damp cloth or sponge to wipe the surface of the leather, removing any surface grime.
- You can mix a mild soap solution and warm water for tougher stains. Dampen a cloth with this solution and clean the stained area. Ensure not to saturate the leather, as excess moisture can damage it.
Once the bag is clean, allow it to air dry completely. Avoid using heat sources like hairdryers, as they can cause the leather to crack.
2. Remove Loose or Peeling Parts
After cleaning, assess the bag for loose or peeling parts. These are areas where the leather has already started to come apart. To remove these damaged sections:
- Use a pair of small scissors or a craft knife with precision.
- Carefully cut off any leather that is loose or peeling, being careful not to cut into the still whole leather.
This step prepares the bag for the following stages of restoration.
3. Sand the Peeling Area
After cutting away the ruined parts, it’s important to smooth out the edges of the peeling area. It will create a clean and even surface for the next steps. Sand with fine-grit paper or a sanding block to:
- Gently sand the edges of the peeling leather.
- Avoid applying too much pressure. The goal is to create a smooth transition between the peeling area and the intact leather.
Dust off the surface and make sure it’s clean so you can move on to the next step.
4. Apply Leather Glue
Now comes a crucial step in the restoration process: applying high-quality leather glue. Choose a reliable leather adhesive that dries clear and flexible for the best results. To put the glue on:
- Use a small brush, cotton swab, or even a toothpick for precision.
- Apply a thin, even layer of glue to the peeling leather and the area it will be bonded to.
- Press the peeling leather back into place, ensuring it aligns with the surrounding leather.
5. Press the Peeling Leather Back into Place
Press the peeling leather back into place. To do this, you can use:
- Clamps, clips, or rubber bands to hold the leather together while the glue dries.
- Place a clean cloth or wax paper between the clamps and the leather to prevent sticking.
Allow the glue to dry as per the manufacturer’s instructions. This step helps bond the peeling leather securely back onto the bag.
6. Condition the Leather
It’s time to condition the leather after the glued part has dried and the peeling leather is in place. Conditioning is essential for maintaining the bag’s suppleness and preventing future peeling. Here’s how to prepare the leather:
- Choose a high-quality leather conditioner. Avoid silicone or wax products, as they can create a sticky residue.
- Apply the conditioner evenly to the entire bag, not the restored area.
- Gently rub the conditioner into the leather using a soft, clean cloth.
Conditioning leather keeps it moist and brings back its natural oils. It makes it look shiny and new again.
7. Final Touches
To complete the restoration process, consider some final touches:
- Buff the bag with a soft, clean cloth to achieve a smooth and polished finish.
- Use a leather protectant or water protection to keep water and spots from hurting your bag in the future.
Following these seven steps, you can restore your peeling leather bag and give it a new lease on life. Caring for your bag can be a stylish and reliable companion for many years
How to Restore an Inner Lining That Is Peeling Off of a Leather Bag
If the inner lining of your leather bag is peeling, it can be frustrating. Don’t worry, though; you can fix it up and give your bag a new start. Here, we discuss how to fix this problem step by step.
1. Remove the Peeling Lining
The first step in restoring your leather bag’s inner lining is to remove the peeling or damaged parts. Use sharp scissors or a seam ripper to remove the loose or peeling lining. Be careful to keep the right amounts of the covering in place. The next step will be to make a clean surface for the repair.
2. Clean the Inside of the Bag
Cleaning the inside of the bag is essential before putting on a new covering. Use a soft, damp cloth or a gentle leather cleaner to wipe down the interior. Make sure to remove any dust, dirt, or debris. Cleaning the bag will ensure the new lining adheres and looks its best.
3. Leather, Fabric & Vinyl Spray
You’ll need an adhesive that works well with leather, fabric, and vinyl to attach the new lining. Look for a high-quality leather, material, and vinyl spray adhesive. Follow the manufacturer’s instructions for the best results. Usually, you’ll need to glue the new lining material to the inside of the bag in a thin, even layer.
4. Attach the New Lining
After applying the adhesive:
- Position the new lining material inside the bag.
- Carefully line up the corners and edges for a clean look.
- Press the lining against the bag’s interior, ensuring it adheres.
- Remove any creases or air bubbles as you go. You can use a clean cloth or your fingers for this purpose.
5. Allow the Glue to Dry Completely
Letting the glue dry after adding the new covering is very important. Follow the drying time that the adhesive’s maker tells you to.
This step is necessary to ensure that the covering and the bag’s innards stay together long. We recommend waiting to use the bag until the glue has dried.
How to restore leather bags with deep cracks
Leather bags look good and last long, but they can get deep cracks that may seem impossible to fix. No need to worry, though! A few easy steps can return your leather bag to its former glory.

1. Clean the Bag
Start by cleaning your leather bag. Use a soft, damp cloth to wipe away dust and dirt. For stubborn stains, a leather cleaner can work wonders. Cleaning the pack is essential as it prepares the surface for repair.
2. Sand the Cracks
You’ll need to sand the affected areas to address deep cracks. Use fine-grit sandpaper to smooth out the edges of the shots. This step helps make the next step’s surface clean and level
3. Apply Leather Filler
Now, it’s time to fill those cracks. Apply a high-quality leather filler to the damaged areas. Make sure to follow the product’s instructions. The filler will fill in the gaps and provide structural support to the leather.
4. Smooth Out the Filler
Use a plastic brush or a putty knife to smooth it out after putting the filler in. It is crucial to ensure the filler fits in with the leather. Keep the surface as even as possible.
5. Allow the Filler to Dry
Patience is key. Let the filler dry completely. It usually takes a few hours to set, but follow the manufacturer’s recommendations for the exact drying time. Please don’t rush this step, as it ensures a solid and lasting repair.
6. Condition the Leather
Before you prepare the leather:
- Make sure the filler is dry.
- Protect the leather’s natural oils and keep the finish shiny using a leather conditioner.
- Apply the conditioner evenly, and buff the bag with a clean, dry cloth.
Following these steps, you can restore your leather bag with deep cracks, making it look as good as new.
This method saves you money and makes the bag last longer. If you take care of your leather bag, it will stay stylish and reliable for a long time. Go ahead and fix up your bag the way it needs it.
Conclusion
In conclusion, we’ve explored the world of peeling leather bags and how to revive them. Your leather bag may have been peeling because it is old, the weather, or the leather needed to be made better.
Following the steps in this guide will help you clean, fix, and condition your leather bag, making it look brand new.
We discussed everything, from using good leather glue to remove missing parts to giving it enough time to dry. If you own a leather bag and want to fix a beloved item, this guide will help you.
Apply what you’ve learned here. You can make your leather bag look new again, and you’ll enjoy its beauty and strength for years. Don’t wait; start restoring your peeling leather bag today!
Hi there! I’m a Travel Advisor, and I’m a seasoned traveler with a passion for exploring new and exciting destinations. I have visited the heritage sites of several countries and have learned a thing or two about traveling the world in style and comfort.
My expertise lies in finding the perfect balance between luxury and adventure, and I’m always on the hunt for new and unique experiences. I believe that travel should be about creating meaningful connections and cultural exchanges, and I strive to make a positive impact wherever I go.
With 15 years of experience in the travel industry and a wealth of knowledge about destinations near and far, I’m confident in my ability to help plan the perfect trip for any type of traveler. Whether you’re looking for an exotic beach getaway, a bustling city escape, or an adventure-filled road trip, I’ve got you covered.