As experienced crafters and enthusiasts of all things vintage, I understand the deep connection you have with your beloved leather tote. Years of loyal service may have left their mark – faded color, worn handles, and scuffed corners. But just because it shows its age doesn’t mean it can’t be revived. So Painting Your Vintage Leather Tote is very crucial.
Instead of parting ways with this cherished companion, why not consider a transformative DIY project? You can breathe new life into your vintage leather tote by painting it. Personalize it to reflect your current style and keep it as your treasured daily companion.
With this step-by-step guide, I’ll equip you with the knowledge and expert tips to revitalize your tote. I’ll guide you through the process, from selecting the perfect paint to ensuring a flawless and durable finish. So, gather your supplies, roll up your sleeves, and get ready to embark on a journey of restoration and creative expression. Get ready to carry your reimagined vintage treasure with renewed pride for years to come.
Prepping and Cleaning Your Vintage Leather Tote for Painting (Method 1)
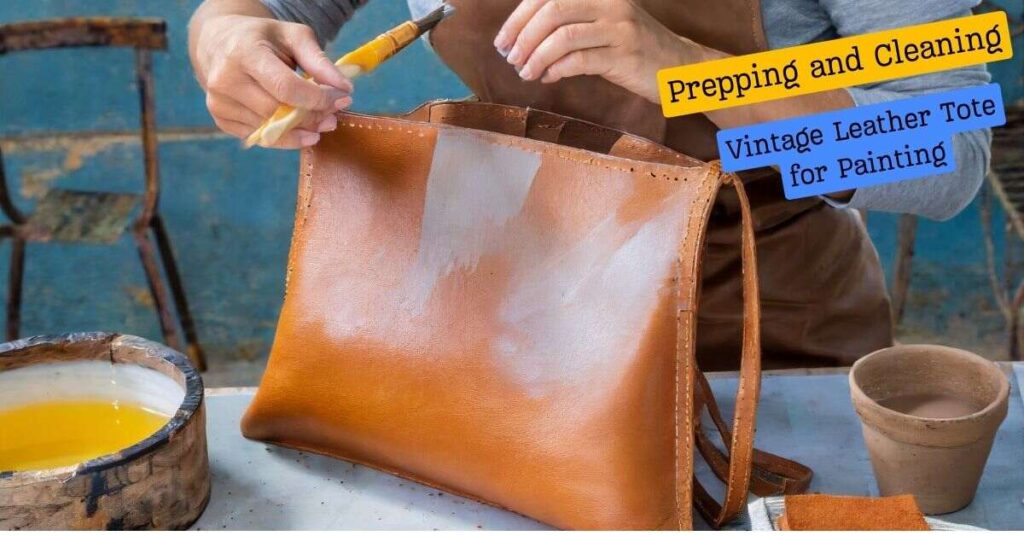
To prepare your vintage leather tote for a new paint job, thorough cleaning and light sanding are essential.
Cleaning
Cleanse the entirety of your bag’s surface using a moist cloth to eliminate any dirt or particles. For stuck-on grime, make a solution of warm water and a mild detergent. Gently scrub any stained areas and rinse well with water. Allow all parts to air dry completely.
Lightly Sanding
The leather may have a glossy finish, so lightly sanding provides “tooth” for the new paint to adhere properly. Use 400-grit sandpaper and gently rub the entire surface using small circular motions. Wipe away dust with a tack cloth. The leather should feel dull but still smooth. Avoid over-sanding, which can damage the leather.
Conditioning
Apply a leather conditioner with a clean cloth, massaging it into the leather. Let it soak in for 15 minutes, then buff off any excess with a soft cloth. This hydrates the leather and provides a good base for your new paint color.
With the proper cleaning, light sanding, and conditioning, your vintage leather tote will be ready for a fresh coat of paint and a vibrant new look. Take your time with each step for the best results and a professional finish. Your revamped bag will be a showstopper!
Choosing the Right Paint for Your Leather Tote Makeover (Method 2)
To successfully revamp your vintage leather handbag(tote) with paint, you must choose a paint specifically intended for use on leather. Regular craft or acrylic paints will not properly adhere to the leather and will chip or scratch off easily.
Instead, select a paint designed for leather, such as:
- Leather paint or dye: Water-based leather paints and dyes are flexible, non-toxic and designed to bond strongly with leather. Popular brands include Angelus Leather Paint and Fiebing’s Leather Dye.
- Chalk paint: Chalk paint is a popular paint for upcycling leather and provides an antiqued, distressed finish. It comes in a variety of colors and requires a sealant like wax or lacquer for protection.
- Metallic paint: For an eye-catching metallic sheen, choose a metallic paint, such as gold or rose gold. Metallic paints contain metal flakes suspended in a clear medium to provide a bright, reflective finish. They may require a sealant as well.
Whatever paint you select, be sure to thoroughly clean and condition the leather first. Apply 2-3 thin coats of paint, letting each one dry between applications. Finish with a sealant to protect the new paint job. With the proper paint and technique, you’ll have a custom leather tote that’s ready to showcase your unique style. You can revive your vintage leather tote by choosing high-quality paint. Use paint specifically intended for use on leather. Take the time to apply it properly. By doing so, you can transform your tote into a true statement piece.
5 Techniques and Tips for Painting Your Vintage Leather Tote (Method 3)

Painting a vintage leather tote requires the proper techniques and tools to achieve an attractive result. By following these tips, you can revamp your bag with a fresh coat of color.
Clean and Condition the Leather
Before painting, wipe down the entire bag with a damp cloth to remove any dirt or debris. Then apply a leather conditioner or balm according to the product directions. This will moisturize the leather and provide a smooth base for the paint. Allow the conditioner to soak in completely.
Choose a Paint
Acrylic paint is great for painting leather, including leather shoes. You can use acrylic leather paint or acrylic fabric paint. Both types of paint work well on leather surfaces. Look for a paint that is flexible and water-resistant. Test the paint on an inconspicuous area first to ensure it adheres properly and you like the results. Thin the paint slightly with water for easier application.
Apply a Primer (Optional)
For the best results, apply a coat of acrylic gesso or leather primer. Let it dry as directed. The primer helps the paint adhere better to the leather and provides a uniform surface. Lightly sand the primer to provide tooth for the paint.
Paint in Thin Layers
Apply 2-3 thin coats of paint instead of one thick coat. Thin layers dry more quickly and offer improved coverage. Use a paintbrush to paint the entire bag. Let each coat dry briefly between applications.
Seal and Protect
Once the paint is dry, apply a sealant like acrylic sealer or leather sealant. This protects the fresh paint from scratches, fading, and water damage. Reapply the sealant every few months to sustain protection.
With some simple techniques and materials, you can give new life to a vintage leather tote. Take your time and be patient through the process for a durable, custom bag you’ll enjoy for years to come.
Painting Your Vintage Leather Tote Conclusion
Now you have the skills and inspiration to revamp your vintage leather tote into a custom creation that reflects your personal style. With some simple supplies, patience, and an adventurous spirit, that bag from the past can become a favorite for the future. The satisfaction of completing this DIY project will make you appreciate your revamped bag even more every time you carry it.
You’ve discovered a fresh creative outlet. You can create amazing things with very little money. Most importantly, you’ve honored the history of that well-loved bag by giving it a fresh start and many more years of use. Congratulations on your transformation-you and your vintage tote are ready to take on the world in style.

Meet Travis Bryant, a TravelerAide author specializing in handbags. With a passion for travel essentials, Travis shares expert insights on choosing the right handbag.
1 thought on “A Guide to Painting Your Vintage Leather Tote: Easy 3 Methods”